
(Disclaimer: Amazon Affiliate links included where possible and I deem them relevant. I’ll earn a small commission, as described in my privacy policy from eligible purchases made through these links.)
First week in and things are already not going to plan.
First there was the massive migraine I woke up with on Monday. Then I had to help my dad take his recliner to the repair shop one town over. Then I had to take my car in for an oil change, also one town over. While the “few minutes at a time” plan means that I could, realistically, have gotten in a few games between errands, by the time I even thought about trying it was already dinner time, and my brain is programmed to switch to “relax in my pjs” mode afterwards.
Then on Wednesday I had more errands to run, and while I did manage to record the “character creation” in Wii Fit U (I completely reset my progress just to track it better for the purpose of this resolution), the footage… didn’t turn out very well.
Footage Fail
The plan had been to use my GoPro instead of my phone–4K video versus 2K, don’t you know?–but attach it somewhere to the side (here it’s mounted via a flexible tripod to my Gazelle) so that I could pick up both my movements and whatever’s happening on the TV screen, but as you can see the lighting didn’t pan out for that plan. Not sure if that’s something I need to change with the GoPro, the TV, the ambient lighting (note the closed curtains) or any combination thereof, but it will require testing to find a workable solution.
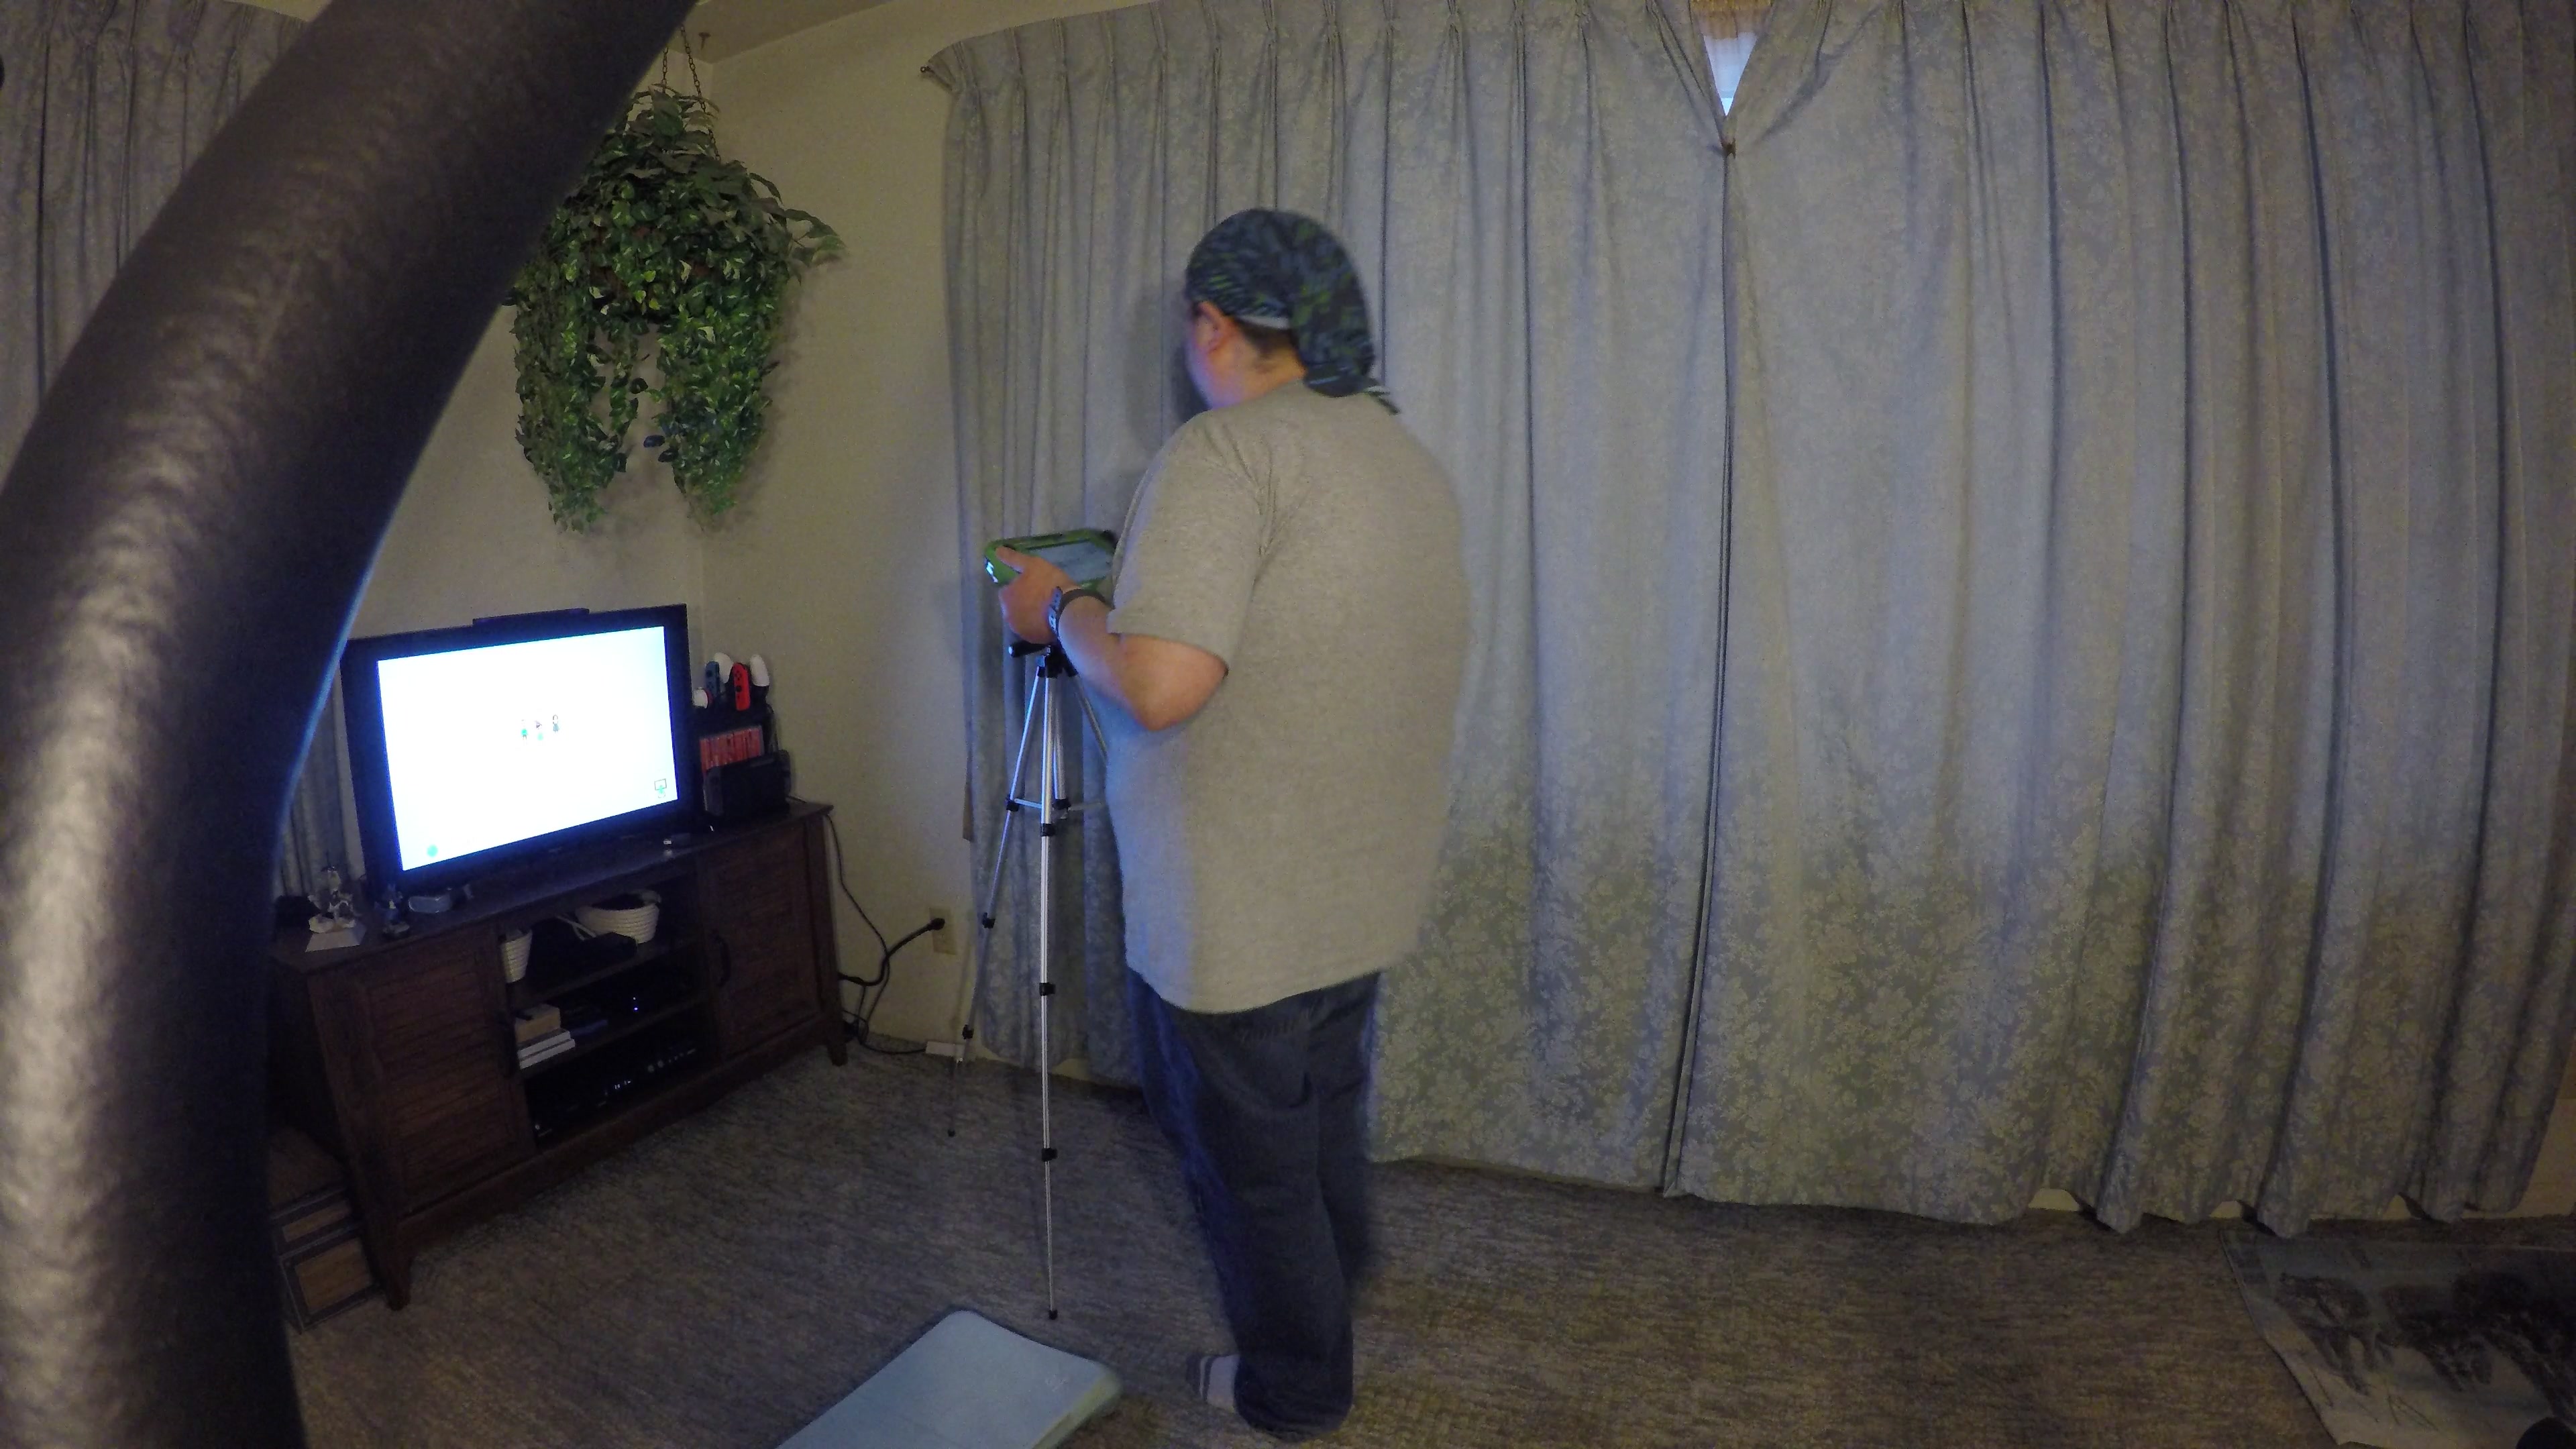
This is why you test things first!
My 360 Fusion, on the tripod sitting almost directly in front of the entertainment center, fared a little better but the TV image was still mostly white with no ability to actually let my viewers decipher what I’m seeing. Even once I find a fix for that dilemma, there will be the matter of A) copying the video files to my computer so I can edit (two memory cards for the Fusion, and the official app doesn’t like to connect to the camera, so until I find a reader that will take both cards at once I’m stuck waiting for one card to copy over before I can move to the next), and editing them into a useful form. I had planned on using the main GoPro for the “fixed” position that shows me and the gameplay footage, and using the Fusion to let my viewers choose which they’d rather see, but now I need to explore other options unless I can find a way to make this one work.
Starting Line
But it’s not a total loss. In addition to finding things that need fixing, I managed to get two walks in on Zombies, Run, and I found a workable option for my “before and after” pictures to show my progress… er, to show what I wish to progress from, that is.
First, there is the entirely unconventional “before” picture that showcases why I wish to lose weight.
We all have our reasons, ranging from those of physical health, to finding out that an outfit you like isn’t available in your size, to simply trying to find clothes that fit, to even body-shyness and (sadly) body shaming.
In the case of this photo, those reasons would be body-shyness combined with a sensory disorder.
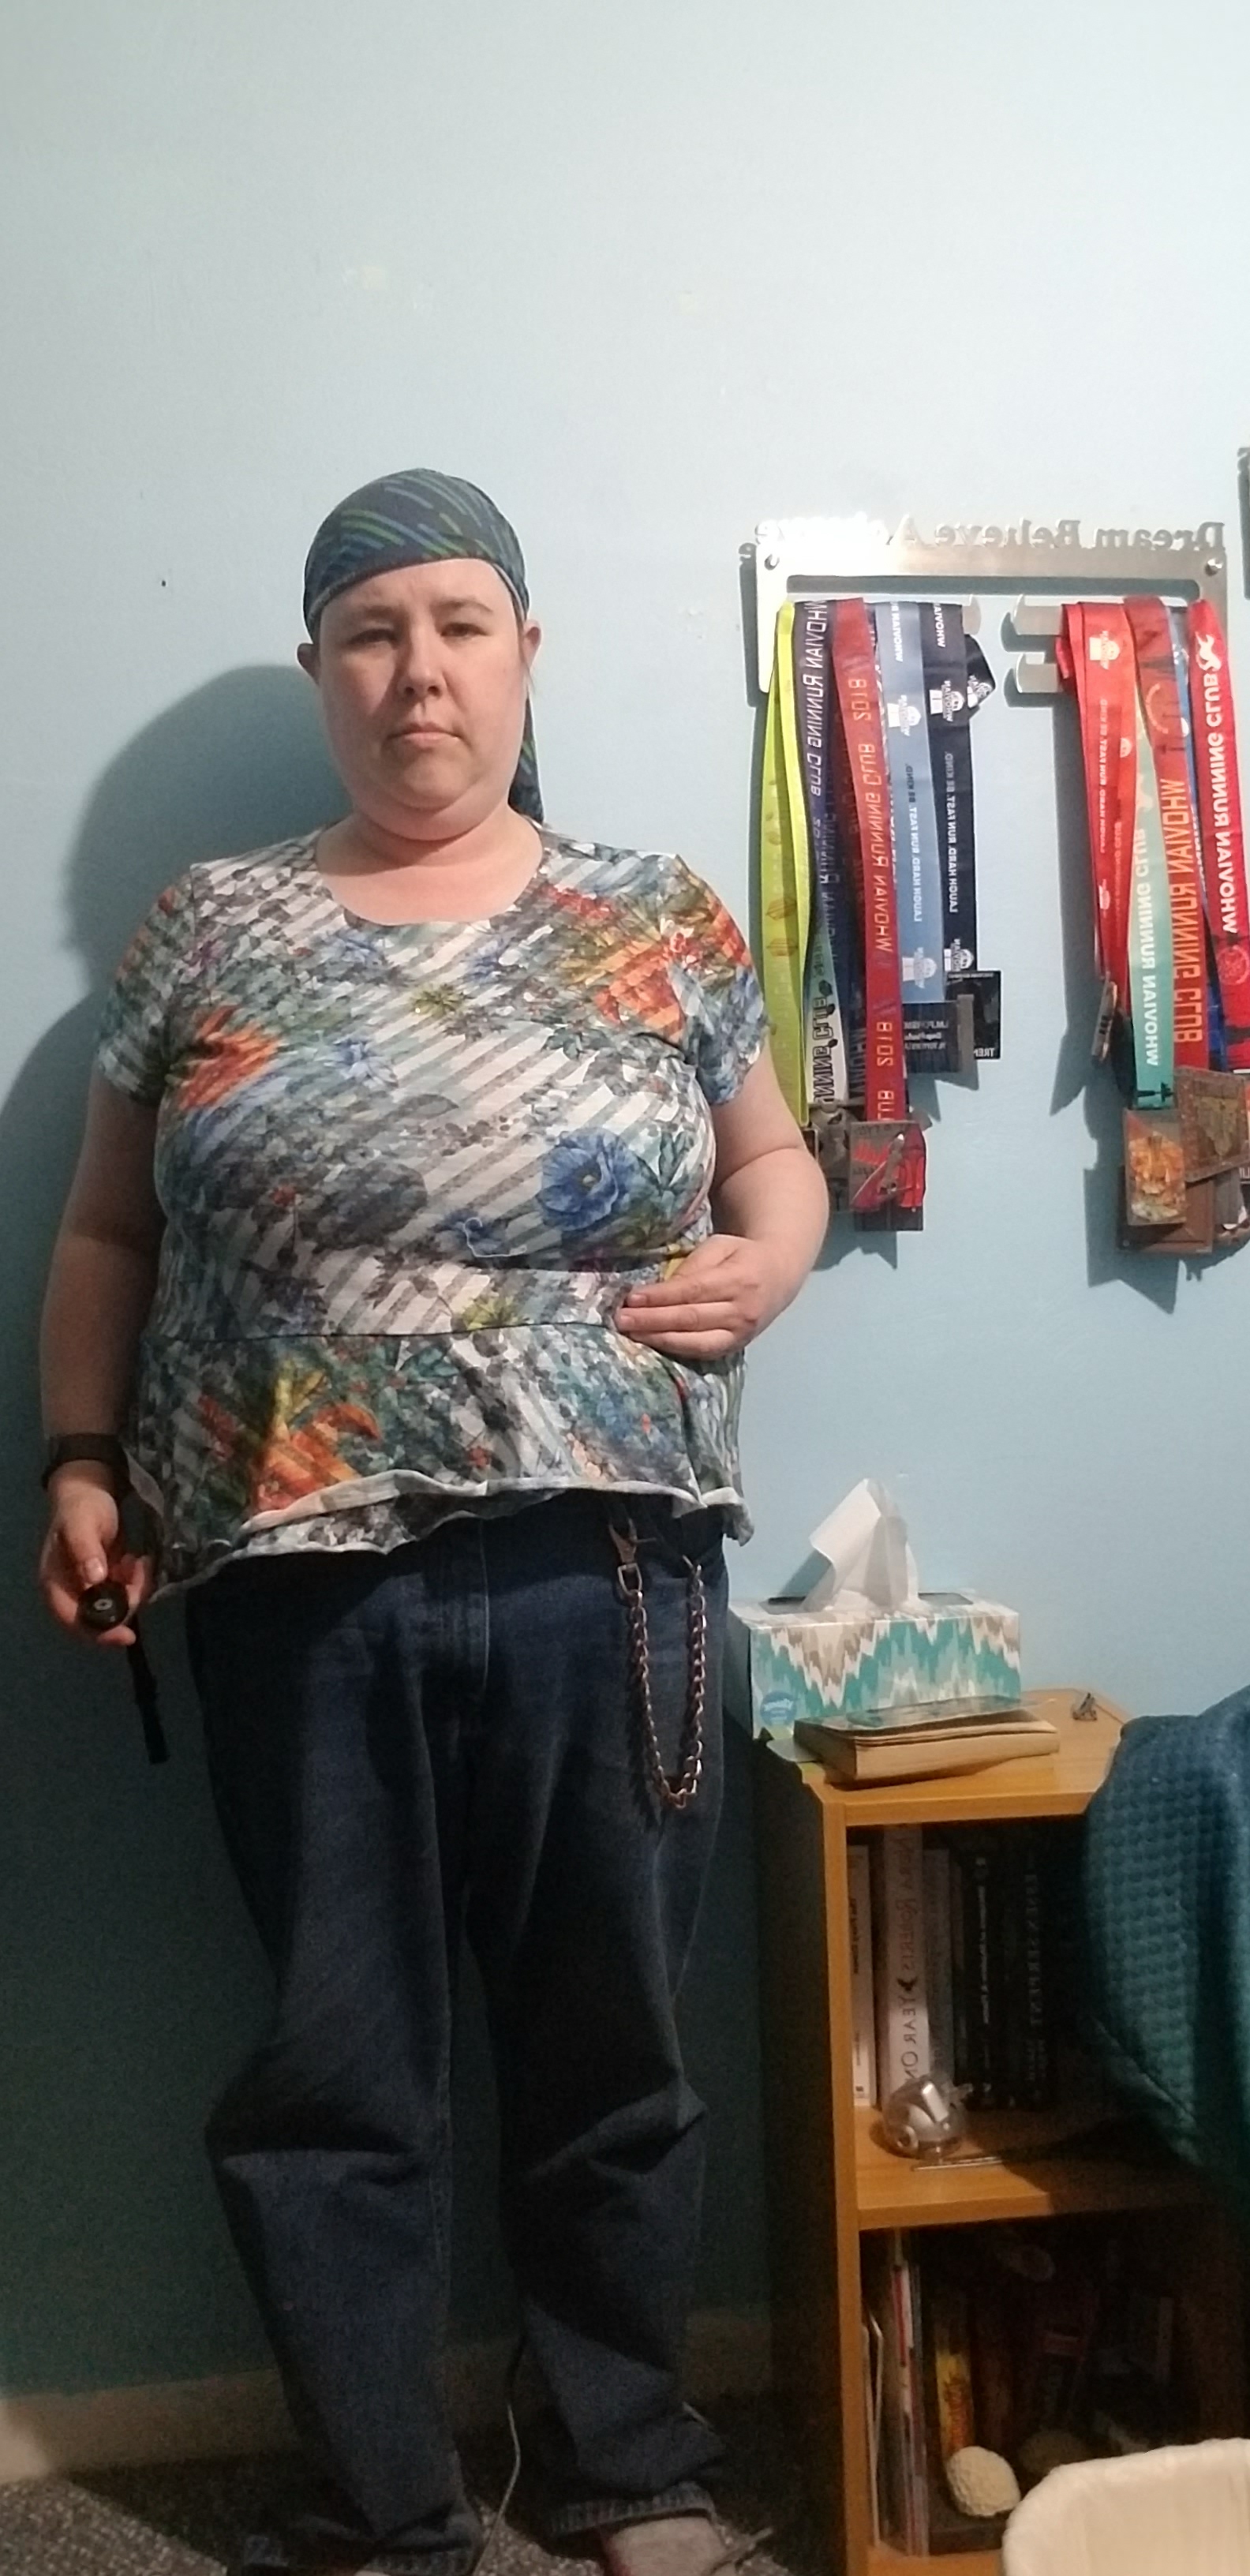
Here you see me wearing one of the shirts I bought for work. Nice, decorative, far better than wearing a plain pullover five days a week. I’m not one for “dressing up,” but I like the style enough that I went out and bought a whole bunch like it as soon as my place of employment changed their dress code, and I continue to buy new ones of a similar appearance when I see them in different colors.
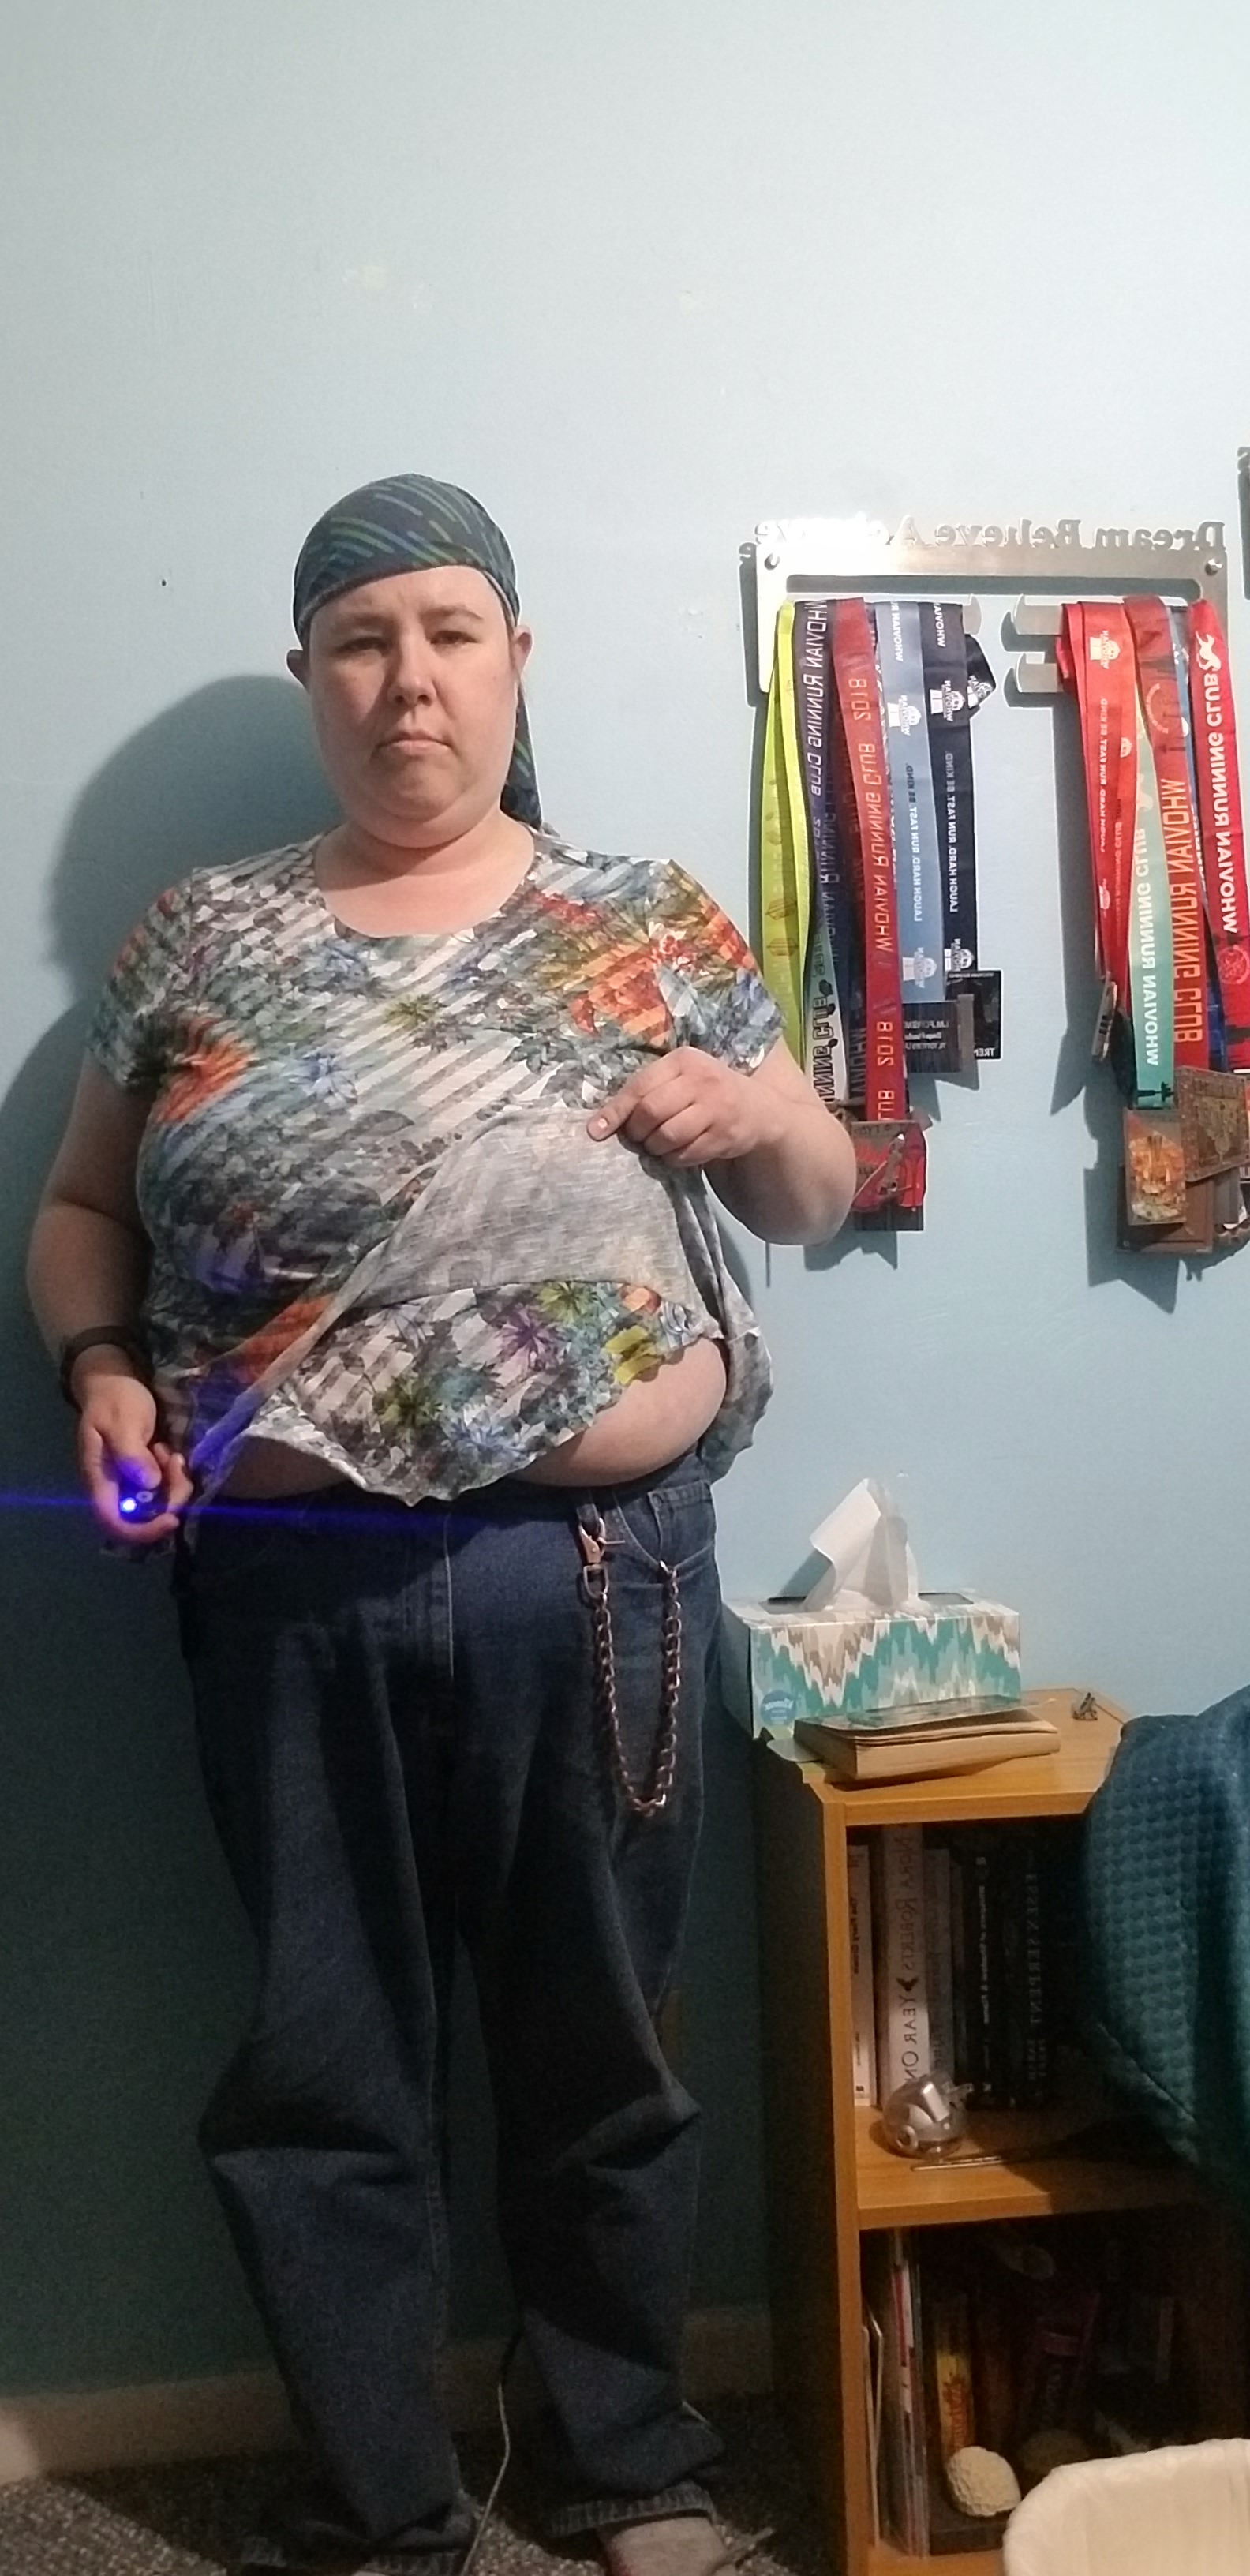
But even though they’re physically comfortable, I always, always have trouble finding a nice-looking shirt that doesn’t seem to show off my Dolly Parton lookalikes, and this shirt has a problem that most of my work shirts do not: an extra layer of material underneath, stitched together somewhere in the middle. In the first photo, you see me demonstrating where that stitching is located… right at the top of my spare tire. Even though I know the outer layer covers me fully, the position of that stitching, combined with my sensory disorder, makes me feel like I’m walking around showing off my entire belly, a sensation that is made worse by the fact that the inner layer hangs high enough to show off my skin as demonstrated in the second photo.
Here my weight loss goal can be simply put as: lose enough of that belly (and the Dolly Parton lookalikes) that the shirt would lay flatter against my torso. Hopefully I can lose enough to make the shirt “longer,” so that the inner layer extends past my belly and the stitching at least extends past the spare tire.
But the work shirt is just a little too baggy to really show off my curves for a proper “before” photo. For that, we have the tank top and shorts combo that I typically wear as pajamas in the summer.
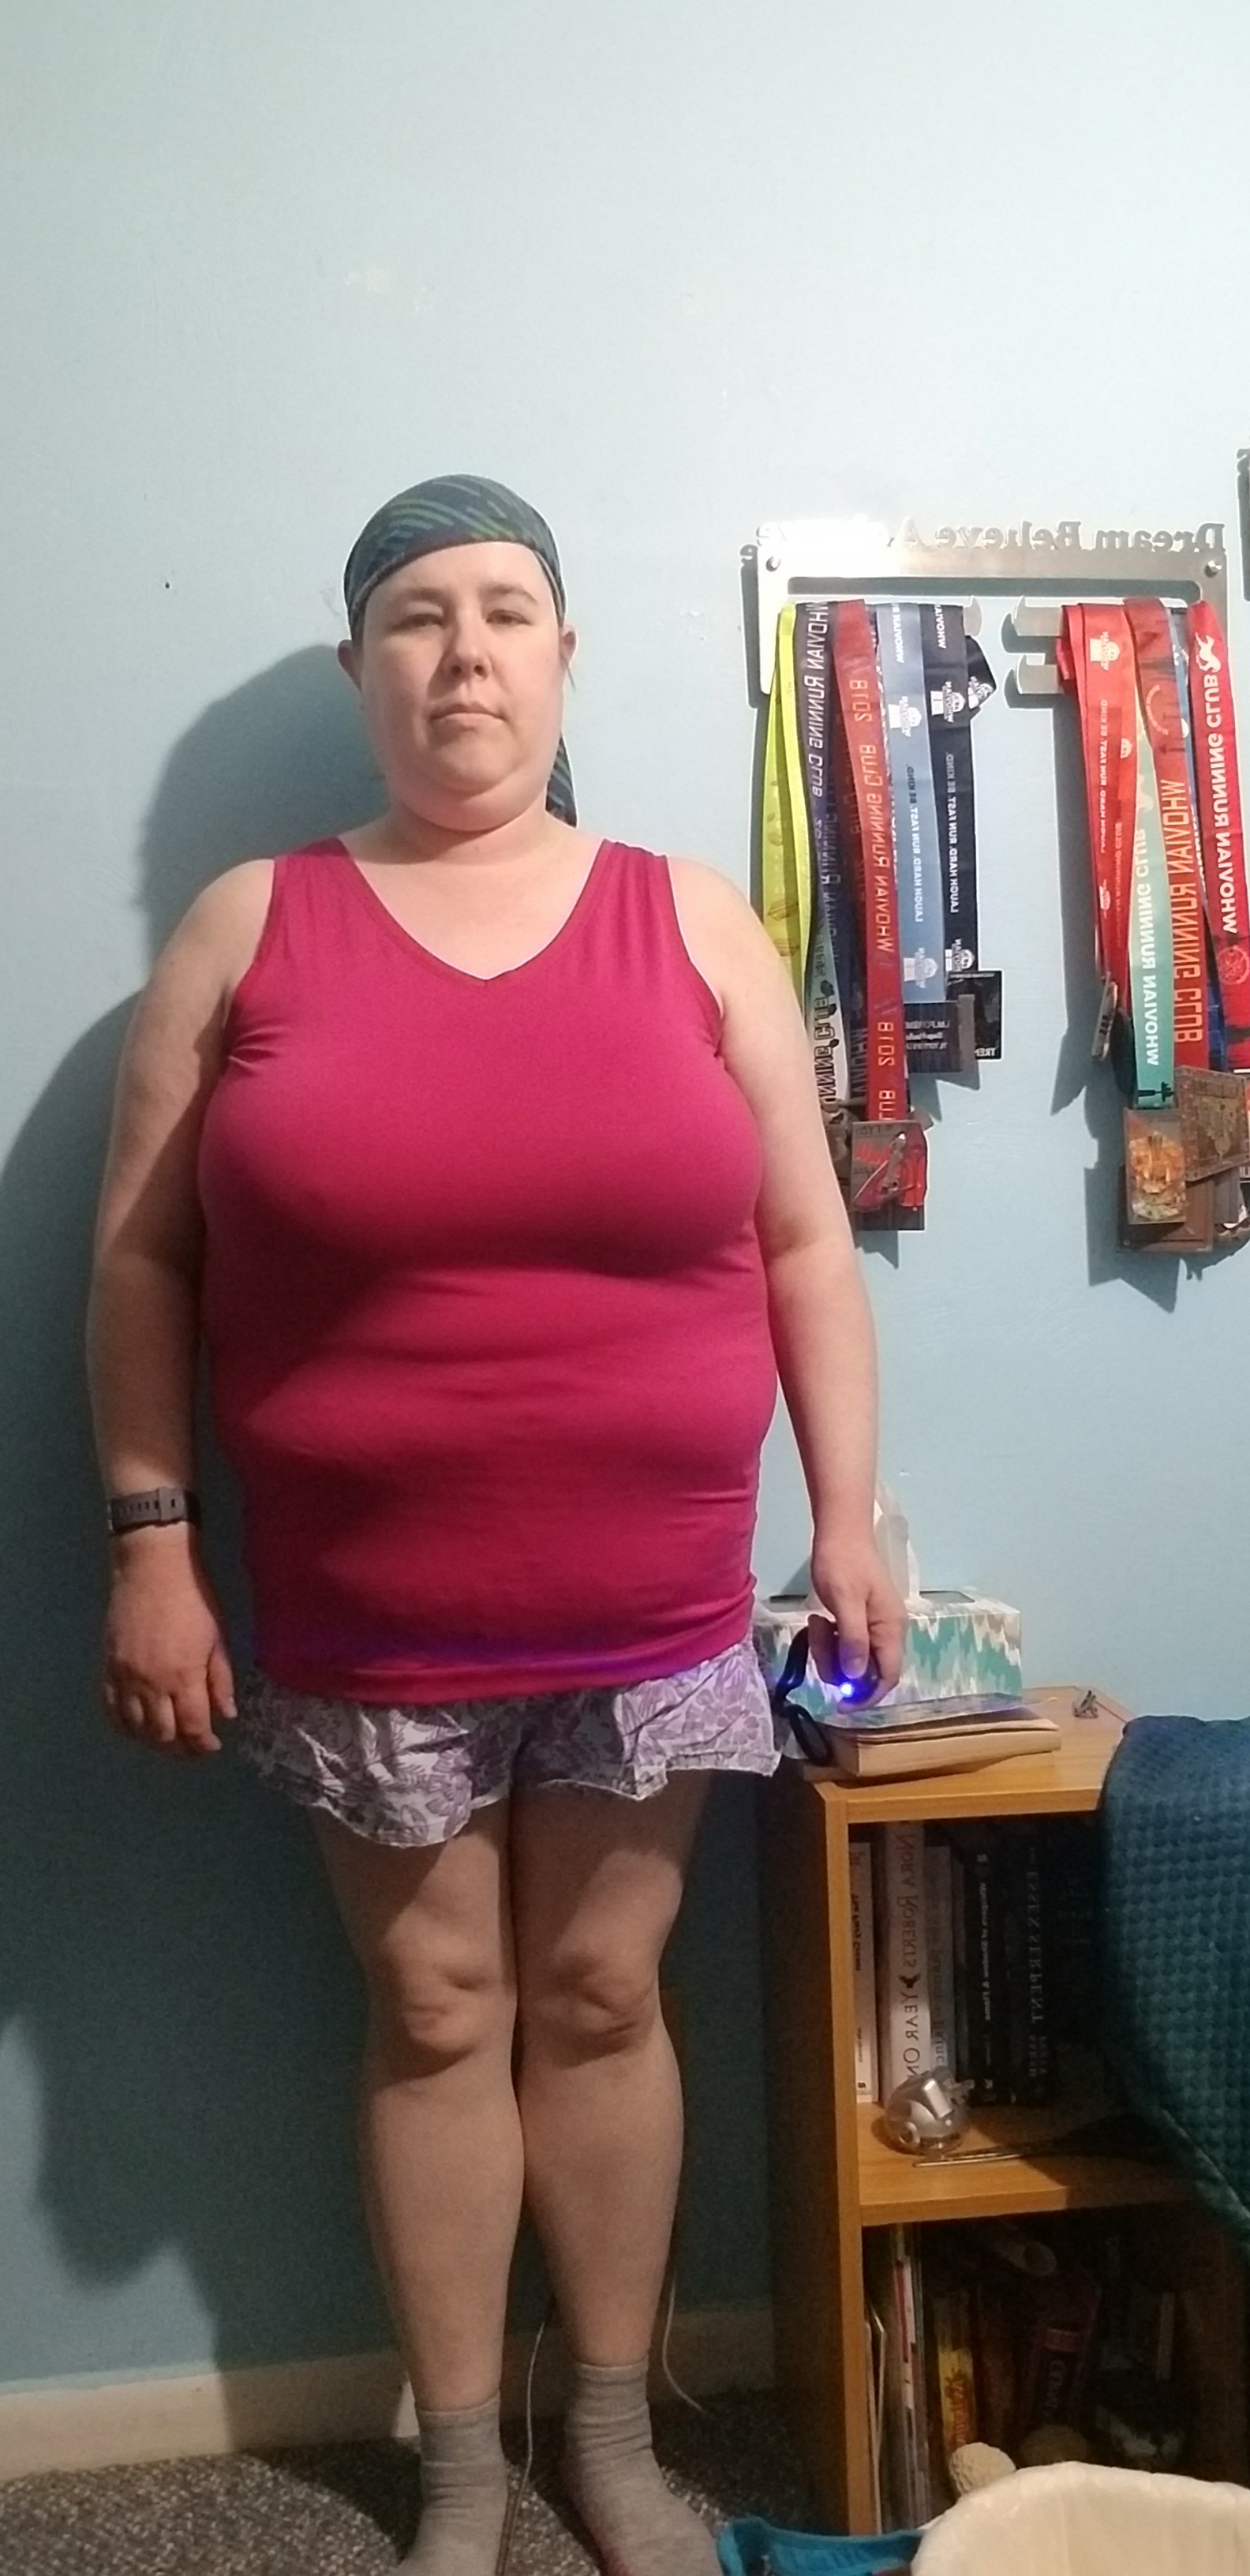
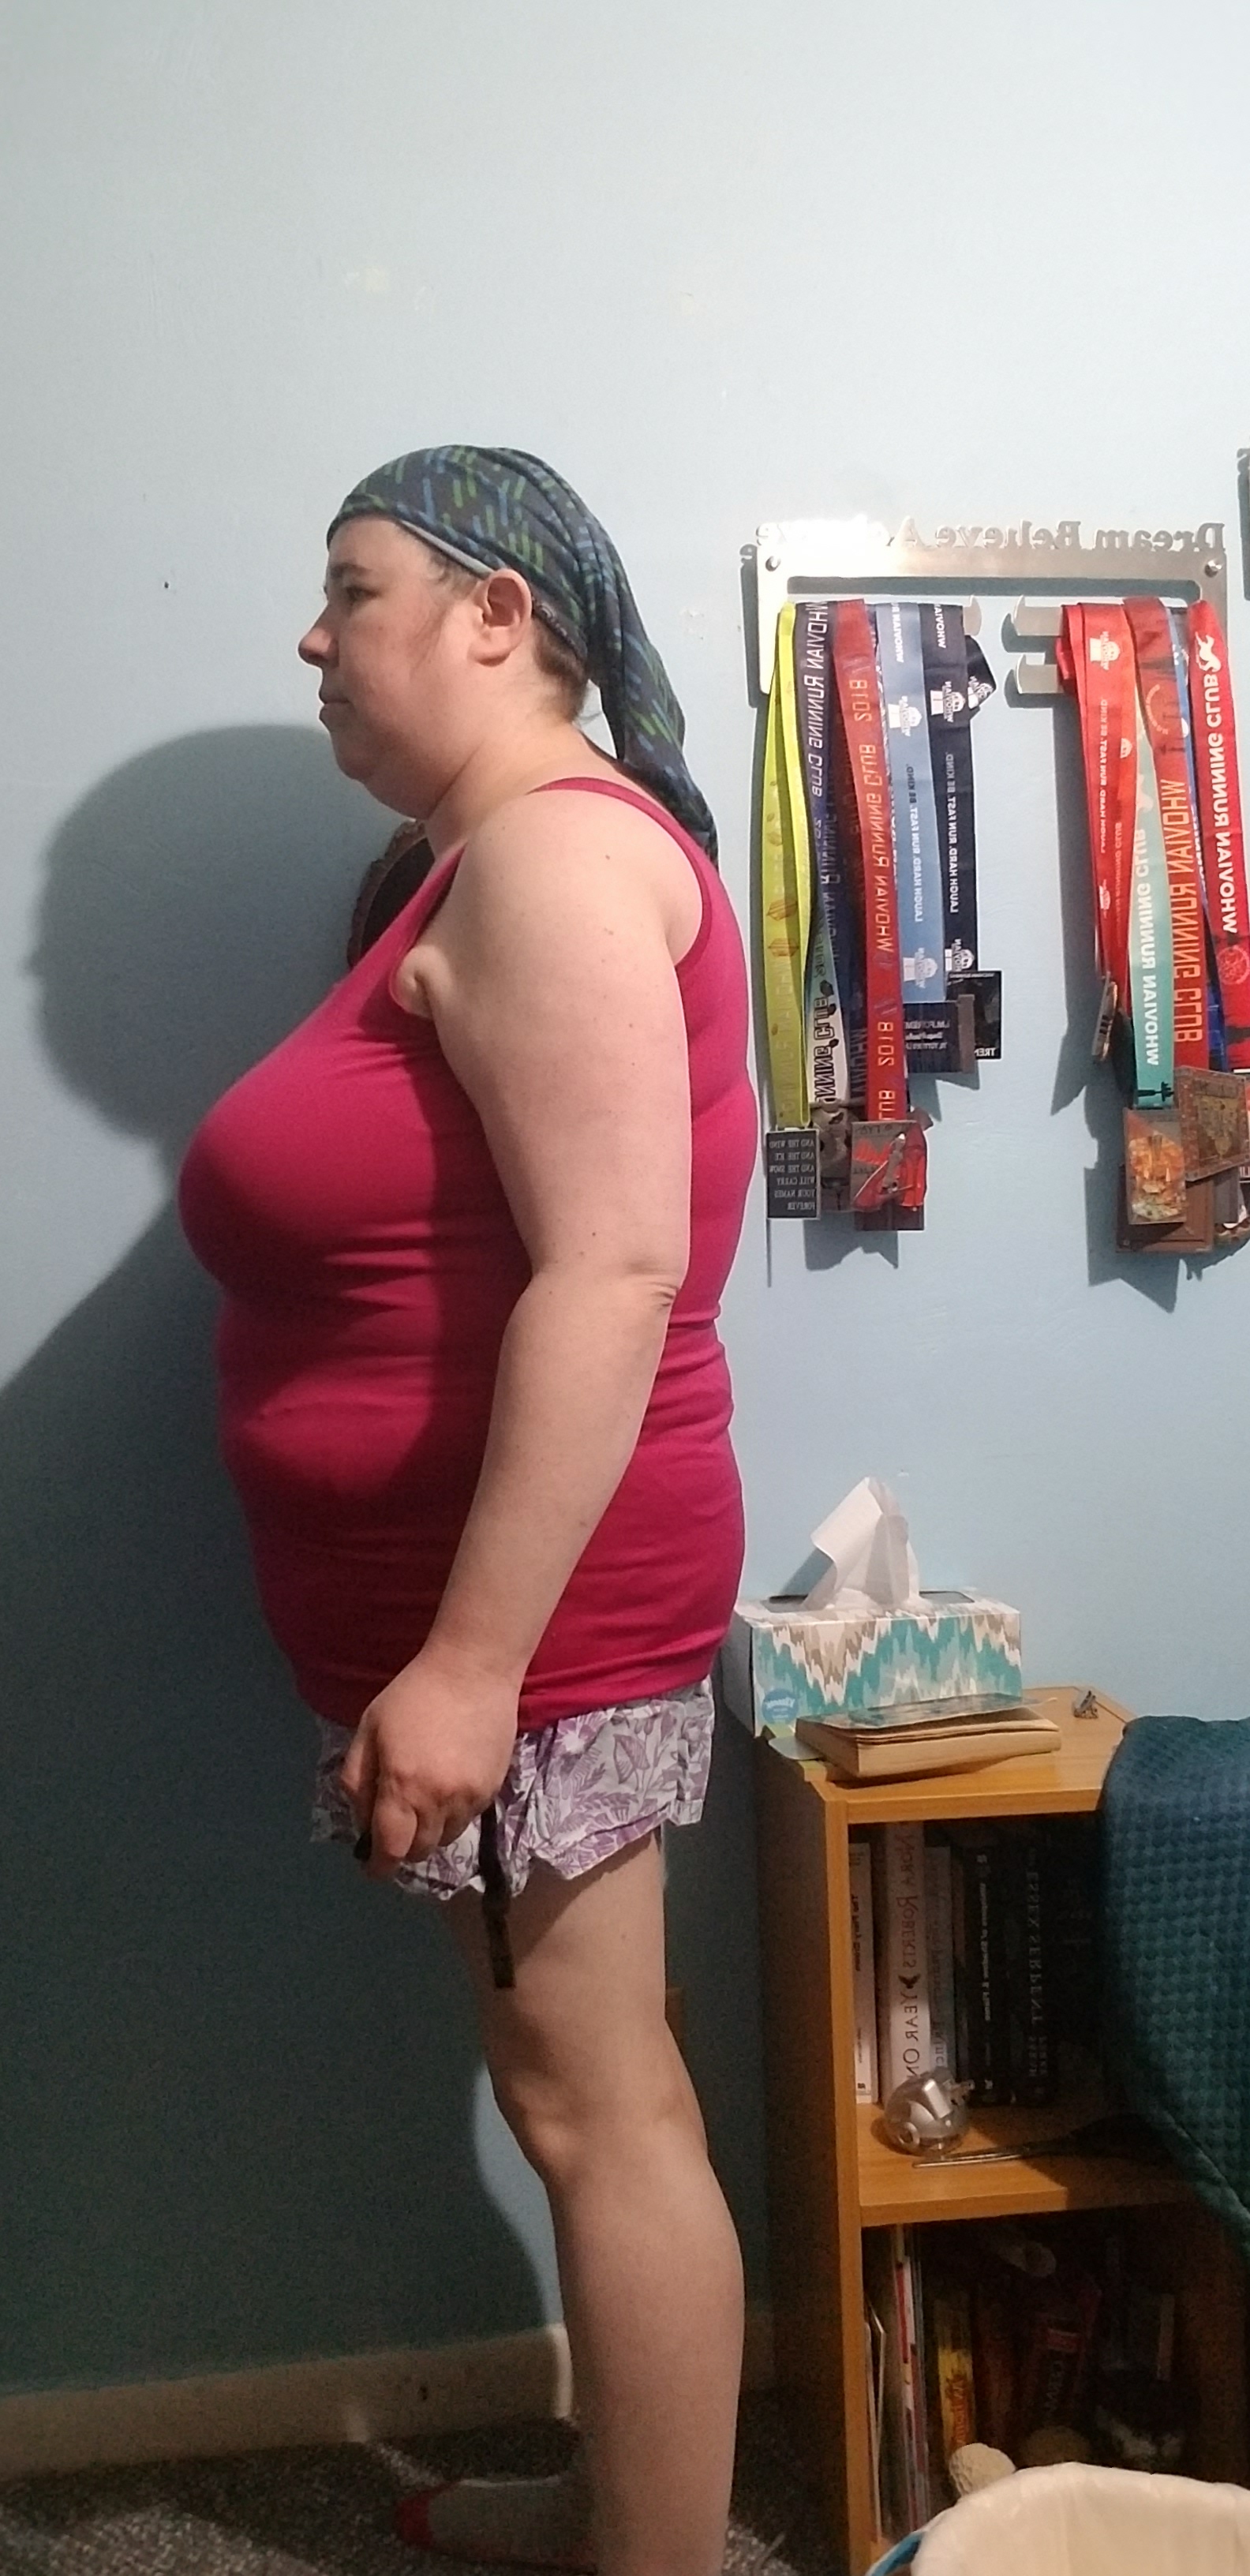
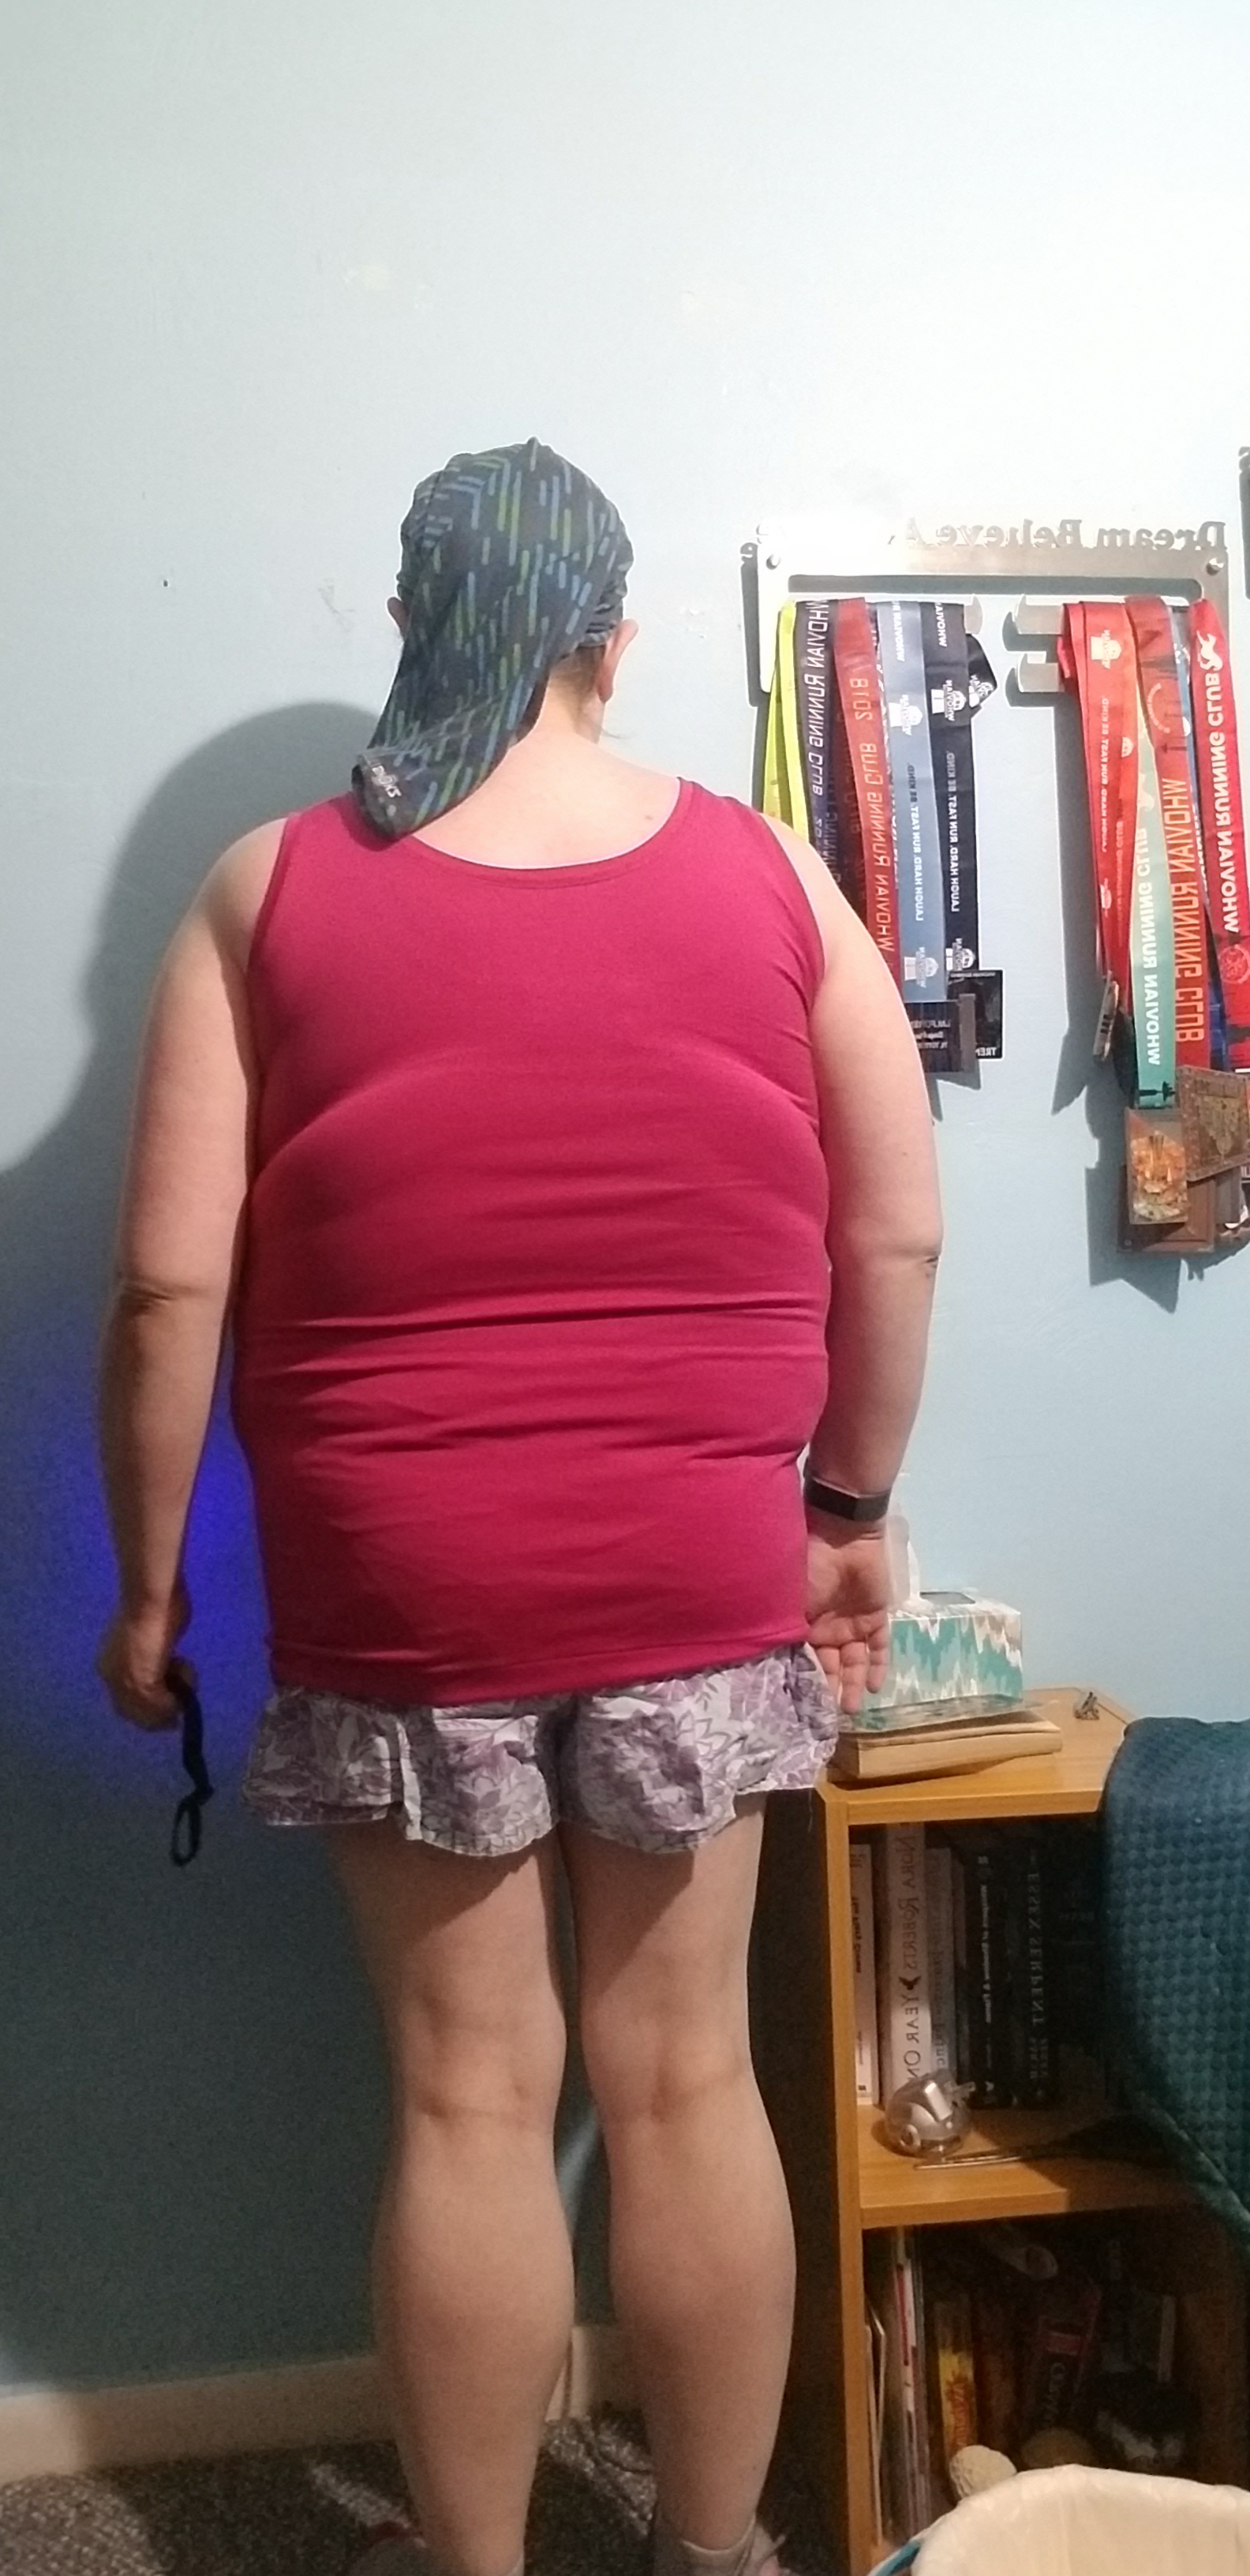
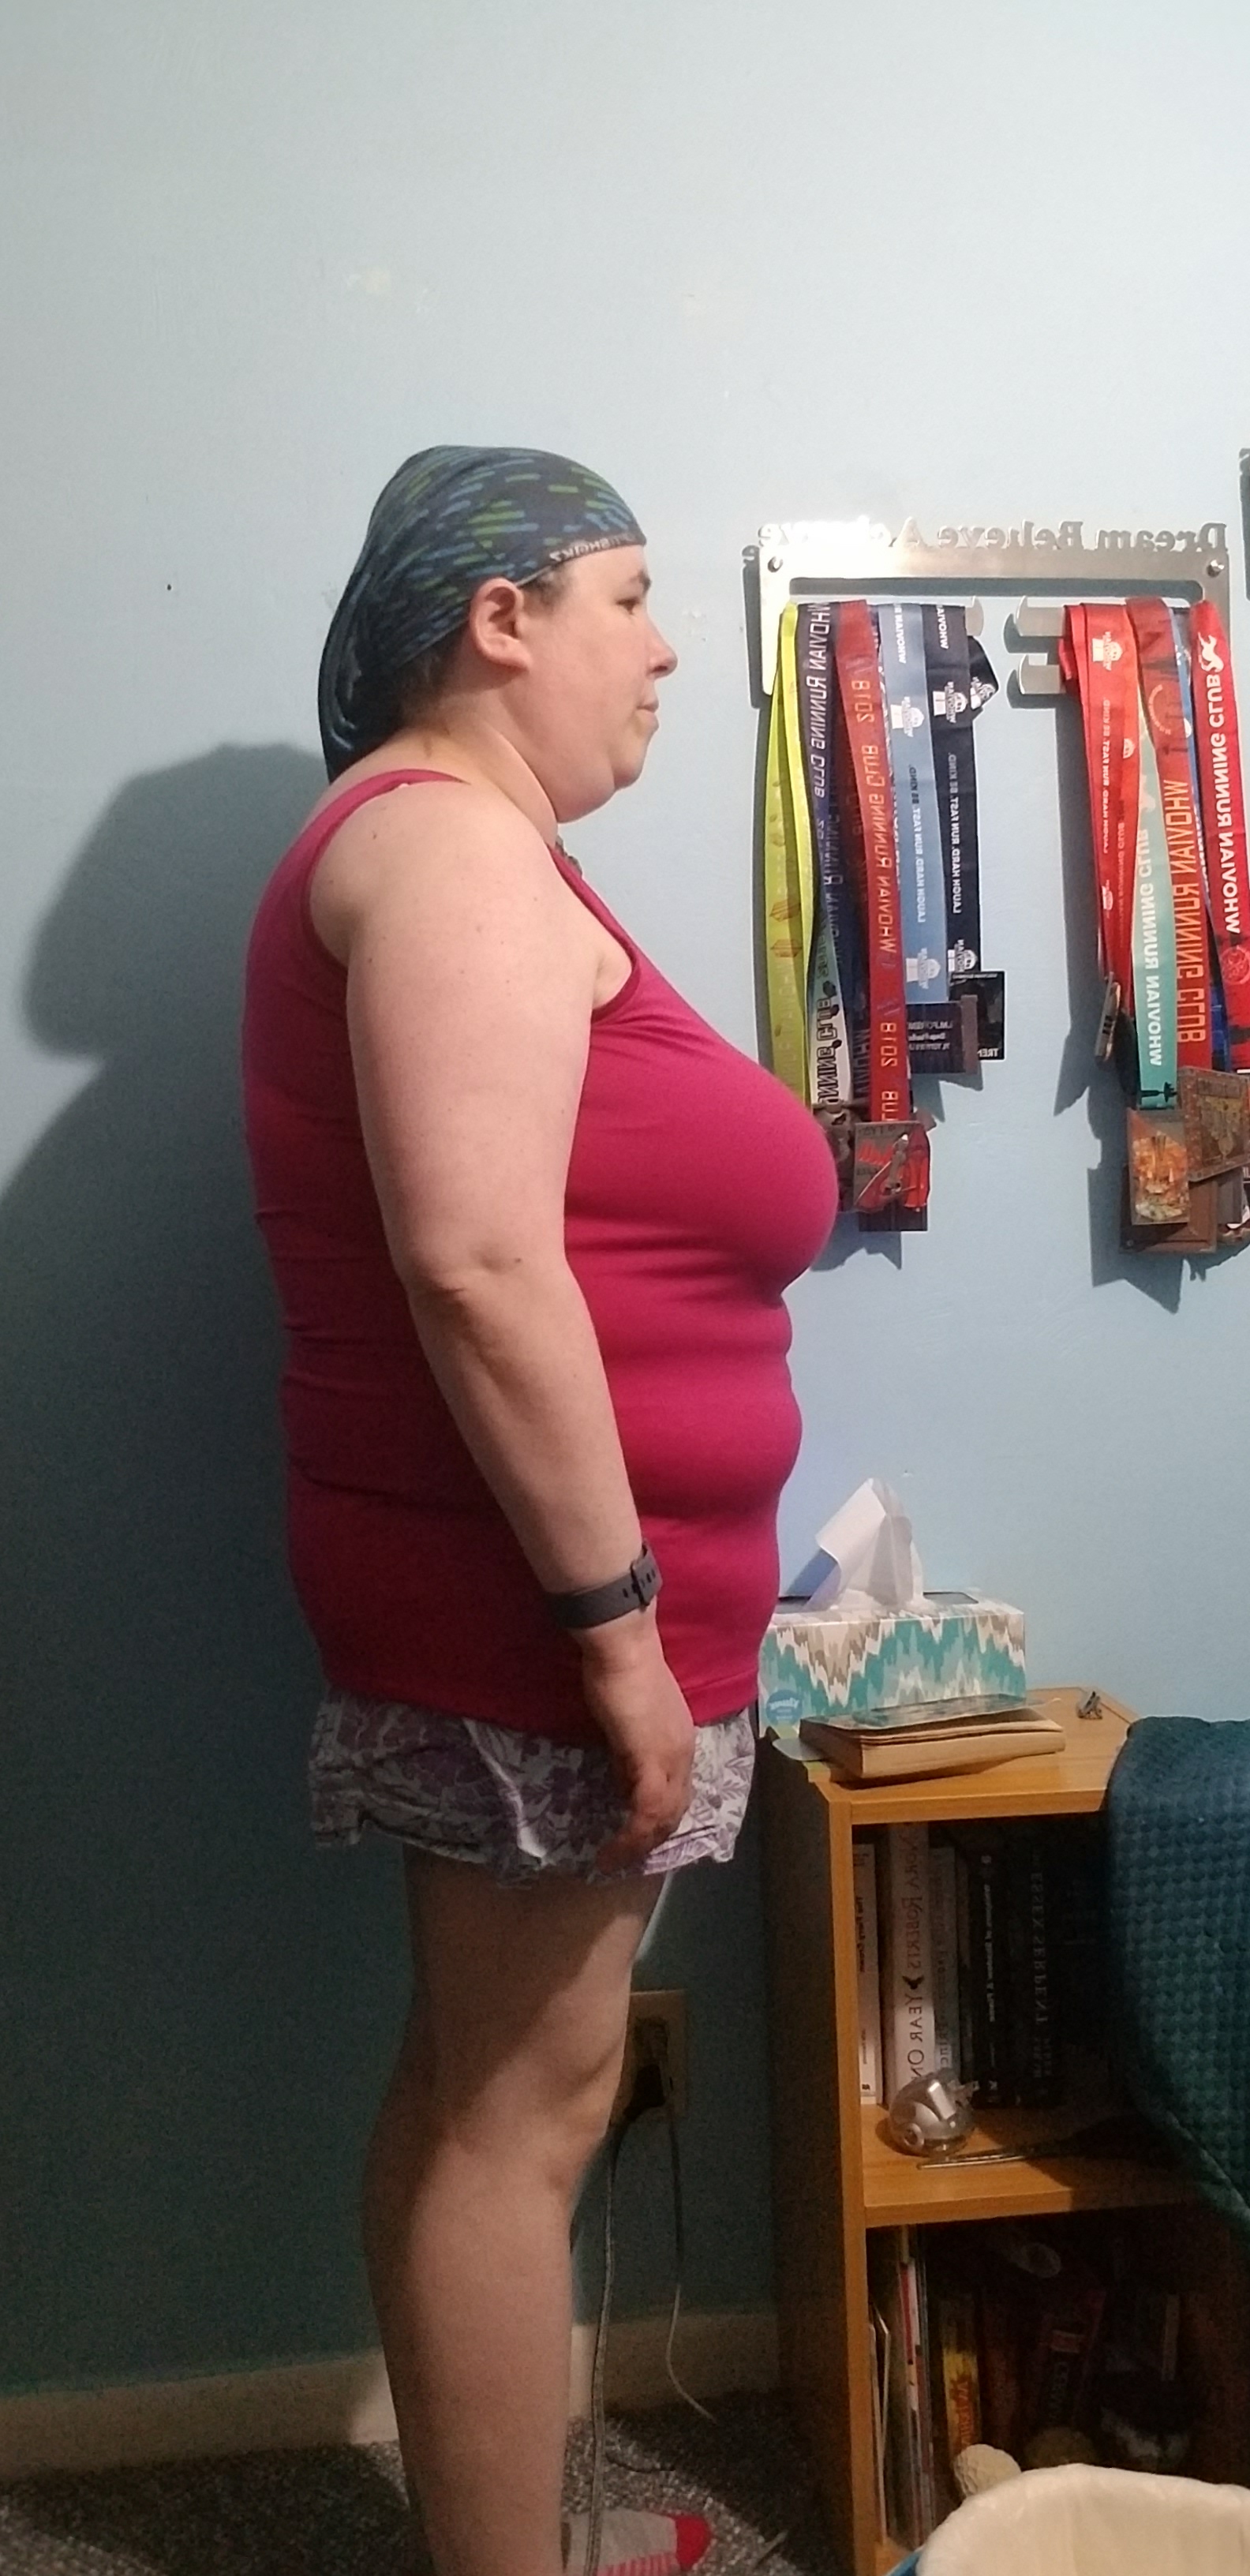
I know, a good “before and after” picture shouldn’t have anything in the background because visual distractions, but my choice of wall decor did serve the unplanned purpose of showing me exactly where to stand for sake of consistency. I plan to move the medal hanger as I slowly declutter, but the other stuff will have to stay put until I can replace my platform bed with a Murphy style.
Both sets of photos were taken with my phone on a Fleximount clip-on smartphone grip and a Bower wireless remote shutter (seen in my left hand). Contrary to the reviews on that link, I found the clip-on grip extremely useful for the purpose–it doesn’t grip the side of my desk quite as well as I’d like, so I have to be careful not to bump it when I’m on that side of the room to, say, make my bed or even sit down or stand up from the computer, but my biggest concern had always been whether or not it would hold the weight of my phone (I have a Note 8 and I used to have a quad-pod that simply toppled over every time I tried to use it), and the neck on this thing is so stiff that there doesn’t seem to be any chance that my phone will weigh it down. The remote… well, it’s easier than using a timer, I think, but I have to remember there’s a slight delay; I had to retake a few photos because the phone didn’t actually snap a picture until after I’d started moving into the next position.
And the final starting line is the weight itself.
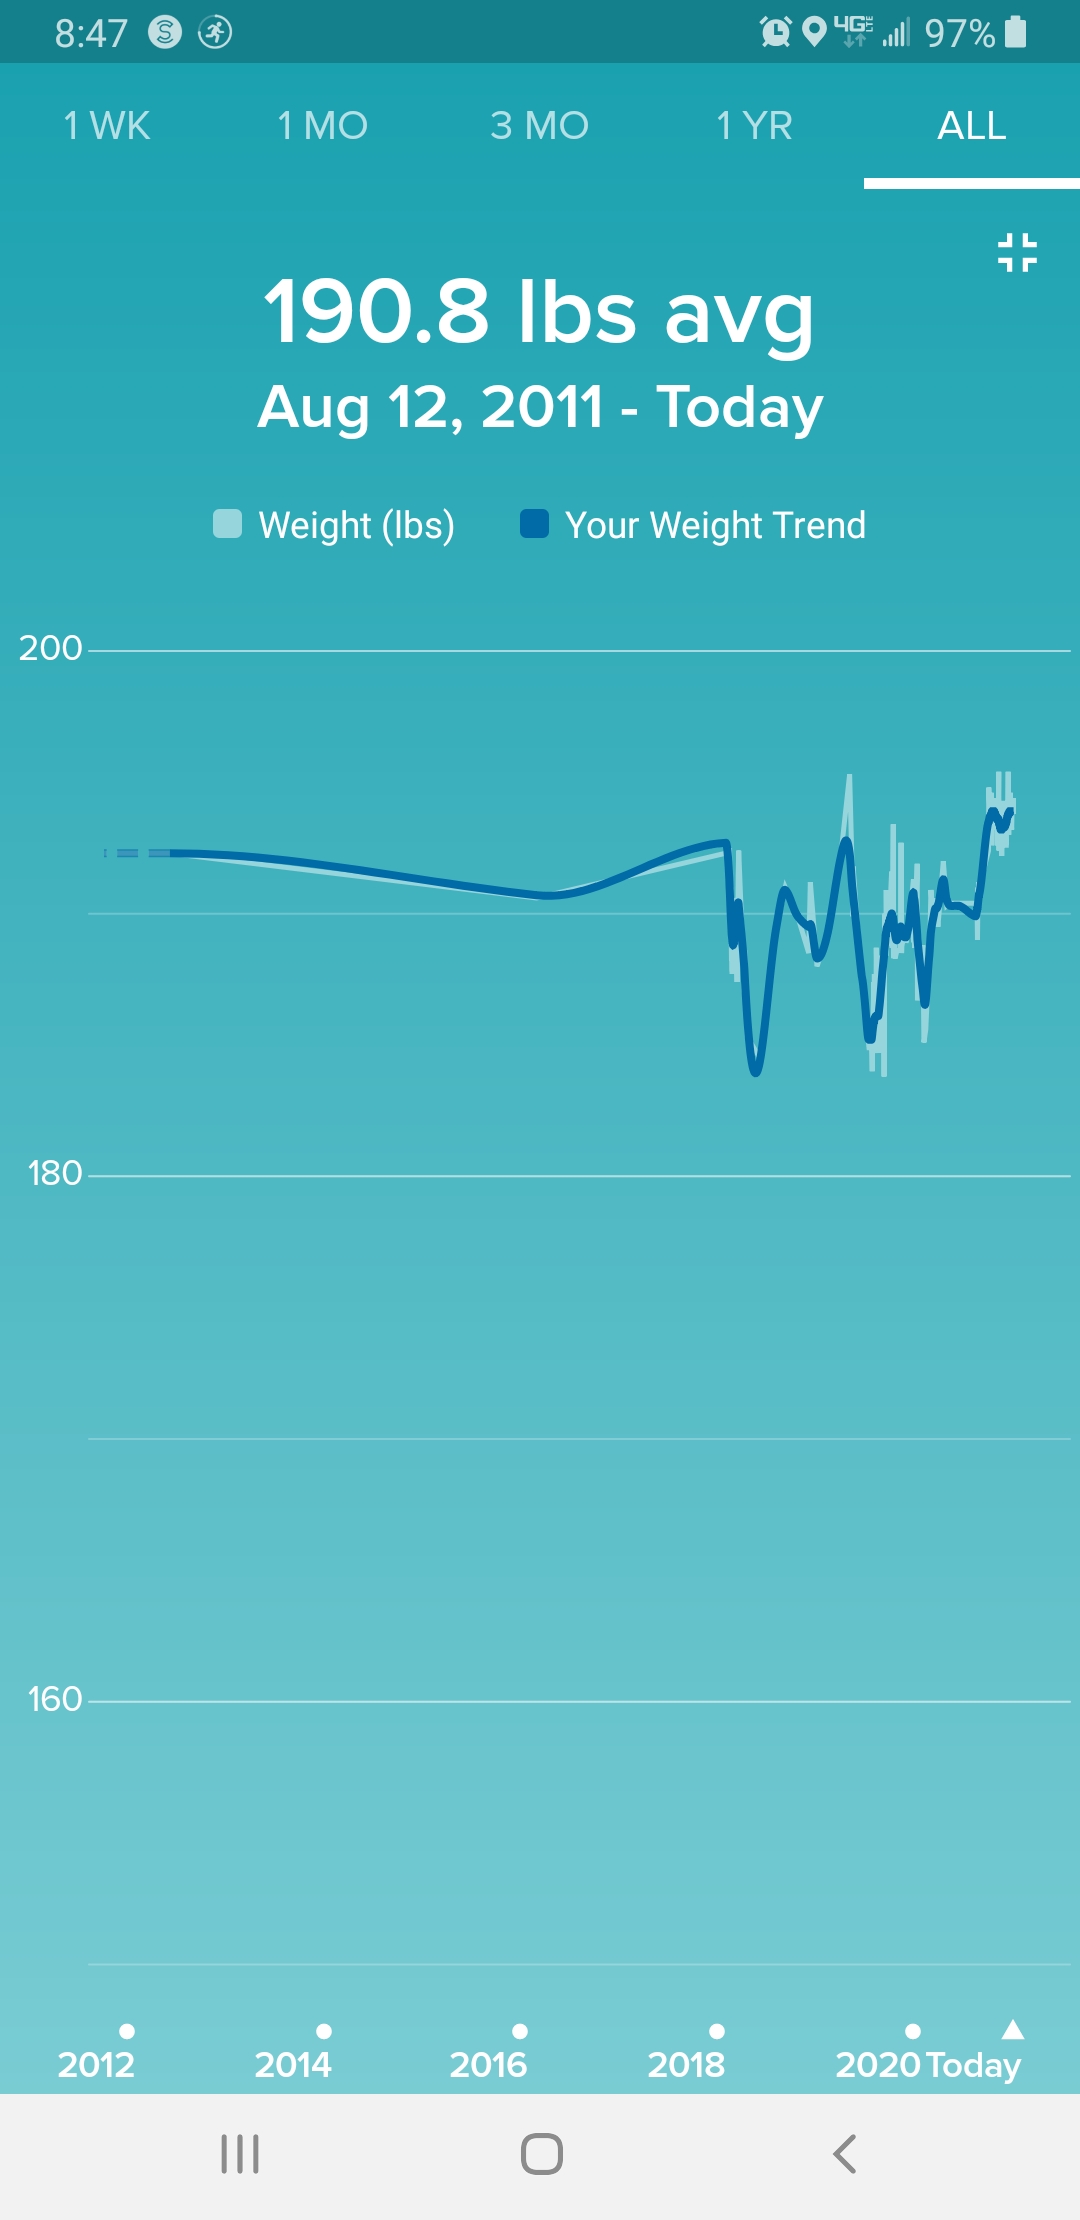
I had hoped to get a screenshot of just “today” (whether it’s today, today, or Jan 1, I don’t care), but neither the FitBit app nor the website seems to have that option despite “today” literally being listed on the website among the available filters. I guess I’ll just have to keep looking at options.
But in any case, the long stretch of almost no change at all comes from the several years in which I didn’t own a FitBit. My very first one, the clip-on style Ultra, broke about a month after the warranty expired and I didn’t have the money to invest in a new one; I bought the Flex 2 just a few years ago when searching for a tracker I could wear in my Aqua Aerobics class, and figured since I already had an account I might as well try another FitBit.
In addition to the account going unused for so long, I also didn’t get in the habit of weighing myself until I found a FitBit Aria (the first model) on clearance, so I don’t really know what my average weight would be, but note that the lowest point on that graph is about ten pounds lighter than my current weight. So another simple-but-complex weight loss goal is to set a new “lowest point” on the graph.
I have no idea what my body fat percentage is (the Aria 1 measured it until the whole device quit working, but my replacement, the Aria Air, does not, and the handheld scanner I bought as a substitute just says I’m so fat that it can’t read me), so it will be a while yet before I can try adding that as stat I’m (hopefully) progressing in.
What about you, my readers? How are your New Year’s Resolutions going for the first week? Hopefully you haven’t hit snags like I have, but if nothing else, it’s a reminder that even in our resolutions it’s always important to remain flexible.
Suggested Products
Products I personally used and was able to provide Amazon Affiliate links for (with the potential for a small commission):
- GoPro Hero 5 (though any recent GoPro will work the same, maybe even get better footage)
- GoPro Fusion 360 degree camera (likewise, the newer GoPro Max will probably be as good or better)
- Fleximount clip-on smartphone grip (bought from my place of employment; I pulled this one up on Amazon by using the UPC on the box)
- Tony Little Gazelle Edge (had this for years)
Specific products I used but was not able to find on Amazon:
- Flexible tripod (don’t remember the brand, think I bought it from my place of employment, and I didn’t see one on Amazon that looks quite like mine)
- Remote shutter (as mentioned in the post, I used a Bower brand, also bought from my place of employment; Amazon has some Bower products but I did not see this particular one on there, nor, remarkably, did I see it on Bower’s own website!)

Pingback: Workout Week 5 and Feb 2021 Monthly Update | Side Quest Publications